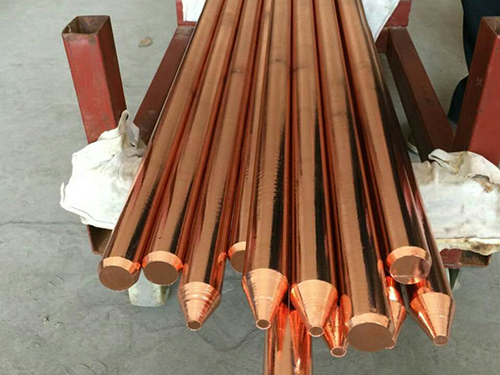
Nowadays, the
ground rod is a very popular lightning protection equipment product on the market. The correct use of the ground rod can provide users with very good lightning protection protection. And nowadays, everyone is increasingly inseparable from the ground rod, so if you want to use it To function, you need to install it first. Below we will tell you in detail how to install the ground rod.
First, select the site to be constructed. After selecting, start drilling a hole with a diameter of 140mmX3500mm vertical to the ground. Then connect the leads. Before implanting the ground rod, it is very important to peel off the tape on both ends of the ground electrode that seals the moisture absorption hole at the upper end of the electrode and the ion release hole at the lower end of the electrode. Then put the electrode into the installation hole, and finally implant the
ground rod and connect the lead wire. The connection method can be rust-proof bolts or fire clay welding. Step 3: Pour the prepared electrode filler into the hole. First, stir the external filling material and water evenly until it becomes a paste. Stop stirring. Then pour the prepared filling material around it until it is 50mm higher than the upper end of the grounding rod. Stop pouring. However, you must be careful not to let air stay in the filling when pouring. If there is air in the cavity, you can insert a bamboo pole or long wooden stick into the cavity and shake it up and down to let the air come out of the hole.
